Chocolate has a reputation for being a bit finicky to use. Plus, it can be pricey if you make a mistake and have to toss it and start again. But don’t worry! Our expert tips and tricks take the guesswork and worry out of baking with chocolate.
Dos and Don’ts:
| Name | Contains | Taste | Best for | Try it in |
| Unsweetened/ baking | 100% cocoa mass, made by grinding roasted cocoa beans, which contain both pure chocolate liquor and cocoa butter | Intensely bitter and acidic | Soufflés, brownies, low-sugar treats | Coffee Brownies |
| Bittersweet/dark/ semi-sweet |
35 to 85% cocoa mass, plus sugar and sometimes a very small amount of milk solids | Anywhere from sweet with just a hint of bitterness to appealingly bitter (more pronounced the higher the cocoa content) | Candies, chocolate tarts, sorbets, cakes, ice creams, mousses, chocolate sauces and dips | Chocolate-Dipped Strawberries |
| Milk | At least 25% cocoa mass and 12% milk solids, plus sugar | Milky, with a creamy texture | Mousses, puddings, fondues | Chocolate Fondue |
| White | At least 20% cocoa butter and 14% milk solids, plus sugar (no cocoa mass) | Rich and very sweet, with a creamy texture | Cookies, mousses, cakes, cheesecakes | Orange & White Chocolate Cheesecake |
| Cocoa powder | Powdered cocoa liquor, with most of the cocoa butter removed; comes in natural (unprocessed) and Dutch-processed, which is treated with alkali to reduce acidity | Bitter; natural has pronounced acidity, while Dutch-processed is mellower | Cookies; chocolate sauces; low-fat, low-sugar baking | Easy Chocolate- Coffee Sauce |
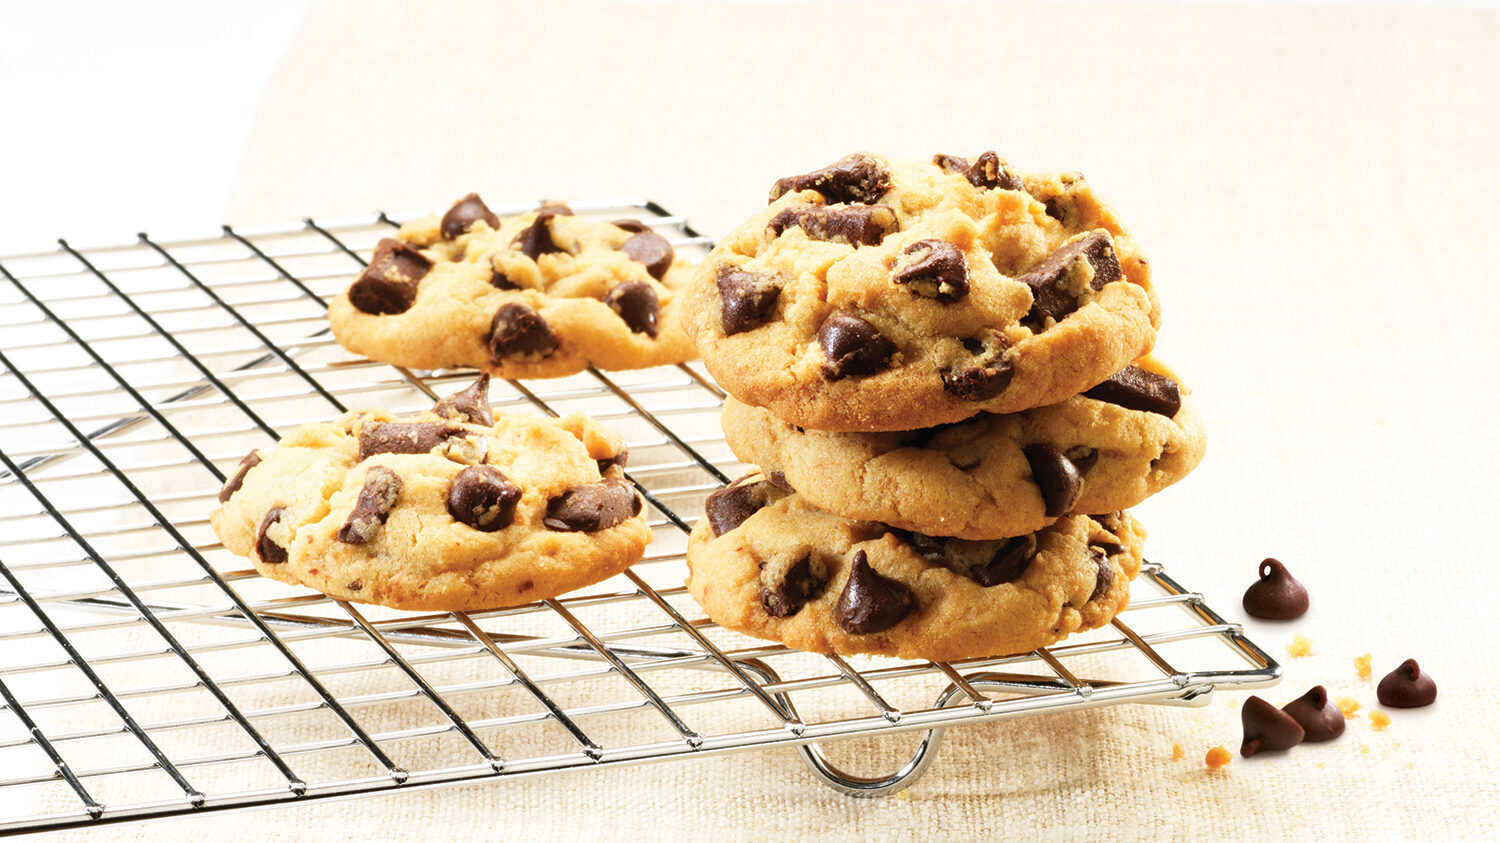
| Chocolate chips | Varying percentages of cocoa mass, with sugar and small amounts of cocoa butter (which controls melting and helps chips hold their shape) | Sweet or slightly bitter, depending on type; not ideal for melting because they can turn grainy and muddy | Cookies, barks, granola bars, squares | S’mores Bark |
How to melt chocolate like a pro
Chocolate melts quickly and evenly if you break it into squares or chop it into small (almond-size) pieces. All of the following methods work; choose whichever is best for you:
- Direct heat: This way requires care because chocolate scorches easily. Use a heavy-bottomed saucepan over medium-low heat and stir constantly for slow, even melting. Reduce the heat or take the pan off the stove momentarily if the chocolate starts to boil or stick to the bottom of the pan.
- Double-boiler: This is a foolproof method—the heat is moderate so your chocolate won’t burn. No special equipment is required; just set a heatproof bowl over a saucepan filled with enough water that the pan won’t boil dry. Bring the water to a boil before adding the chocolate. Then reduce the heat to medium-low so the water simmers gently.
- Microwave: A convenient method, microwaving does require care because of the intense heat. It’s best done in a glass bowl or measuring cup on medium (50 per cent) power. Microwave in 10-second increments, stirring each time, until the chocolate melts. Why stir? Microwaved chocolate won’t melt into a puddle; it will retain its shape as it heats. A light stir will loosen it and prevent overheating.
What is seizing?
When melting chocolate on its own, just a drop of water can cause it to seize, or turn stiff and grainy. To prevent that from happening, start with completely dry equipment or melt chocolate with fatty liquids, such as butter or cream.
However—surprise!—just a little more water may smooth out those lumps. It’s all about the quantity of liquid. You may be tempted to chuck seized chocolate and start over, but try whisking in boiling water, 1 tsp (5 mL) at a time, until the mixture becomes smooth again. If you add too much water, the chocolate won’t be good for baking anymore—but it will make a delicious sauce.
Dos and Don’ts:
- Do store chocolate at room temperature in a dry cupboard. A white bloom can form on the surface if exposed to heat, cold or moisture.
- Don’t discard chocolate that has bloom on it. The coating is harmless and will disappear when the chocolate is melted.
- Do add a little coffee or espresso powder or combine several types of chocolate, such as dark and milk, to intensify chocolate flavour. Try using flavoured chocolates to change things up.
- Don’t use a dull blade when chopping chocolate into small pieces. The best choice is a serrated knife, but any sharp knife will do.
- Do sift cocoa powder with dry ingredients to break up any lumps before stirring in liquids. It’s also a good idea to sift cocoa before rolling items in it, such as our Coffee Chocolate Crinkle Cookies.
How to make fancy chocolate decorations
There are so many ways to create pretty finishing touches with chocolate. Run a vegetable peeler or knife across the flat surface of a chocolate bar to make curls and shavings, or finely grate it to garnish desserts like Easy Panettone Tiramisu. Dip cookies like biscotti or 3-Ingredient Macaroons in melted chocolate. Or spread melted chocolate in a thin, even layer on a parchment paper–lined baking sheet and let it firm up; then cut out shapes with a knife or cookie cutter. You can also pipe melted chocolate onto parchment or waxed paper to make free-form shapes; they’re a nice garnish on our Orange & White Chocolate Cheesecake. Finally, add a lovely finish to light-coloured cake tops by placing a stencil overtop and sprinkling with cocoa powder. Lift the stencil and you’ll reveal an attractive design.


