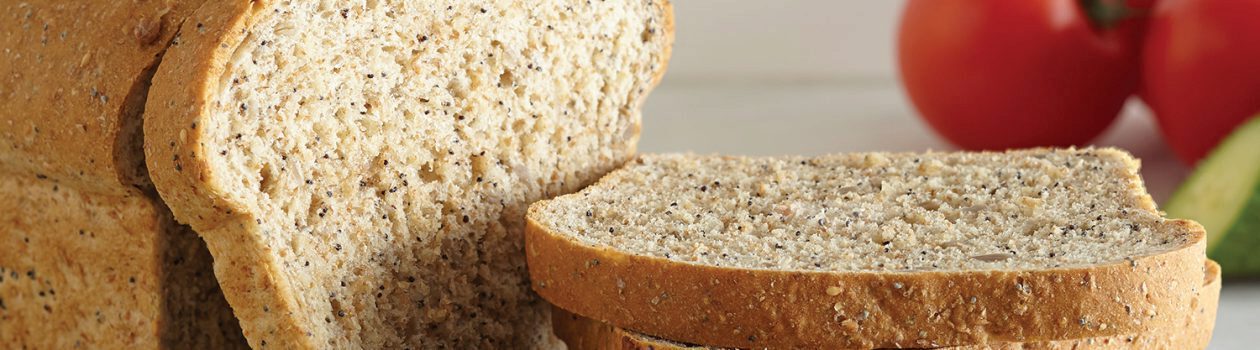
A loaf of bread baking in the oven smells heavenly. And eating a fresh, warm slice—topped with butter or jam—is one of life’s simple pleasures. While baking bread may sound complicated, it’s no mystery. Here are the basics to get you started.
Bread-Baking Basics
In its simplest form, bread is a mixture of flour, yeast or starter, salt and water. Beginning bakers often shy away from making their own, opting instead for quick breads because they think yeast varieties are too complicated, but that isn’t true. Armed with our helpful advice, you can create delicious loaves that bring that enticing bakery smell into your home.
Ingredients
Baking bread from scratch allows you to customize the ingredients. If you have a dietary restriction, like a gluten sensitivity, you can still make bread that works for you. And if you’re the kind of person who likes to know exactly what’s in your food, homemade bread puts you in control. These are just a few of the components you can play with.
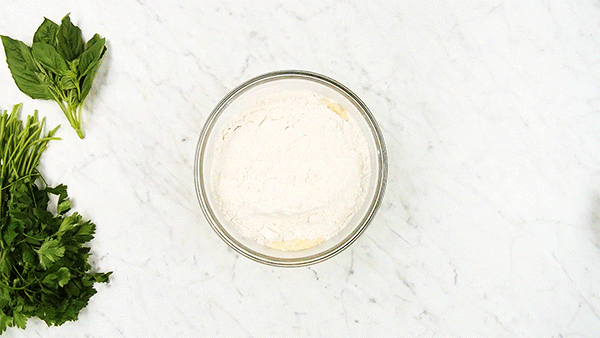
- Flour: Wheat-based flours such as all-purpose, whole wheat and bread are most commonly called for in recipes and are the easiest for first-time bread bakers to work with. Start with all-purpose, because it works in many recipes. Bread flour is higher in protein and gives rustic, artisan-style breads a lovely texture, but it’s not required. You can also try recipes that use rye flour or gluten-free flour blends; the latter contain xanthan gum or other additives to create a nice texture without gluten.
- Nuts and seeds: Chopped nuts, such as walnuts or pecans, make yummy additions. Sesame, poppy and sunflower seeds are another good choice if you want a little crunch. Try our Three-Seed Whole-Wheat Bread .
- Dried fruits: For a sweet note, knead in dried fruits, such as cranberries, chopped apricots or raisins.
- Herbs and cheese: Chopped fresh or dried herbs are tasty, and hearty ones such as rosemary and thyme stand up well to baking. A handful of grated cheese can add a savoury note that’s delicious with soups or stews.
Yeast
Sharpen your pencil—it’s time for a quick science lesson. Yeast is a leavener, which helps baked goods rise. These single-celled micro-organisms consume sugar (either in flour or in added sweeteners such as sugar or honey) and emit carbon dioxide, puffing up the dough and giving it the characteristic “bready” texture.
For beginners, active dry yeast and instant (rapid-rise) yeast are the go-tos. Active dry yeast must be combined with liquid to activate, while instant can go right in with the dry ingredients. They can be swapped if you know what you’re doing, but use the one called for in the recipe ingredient list for best results.
Tip: In some recipes, yeast is “proofed”: mixed with warm (not hot) water and a little sugar, and left to stand for five to 10 minutes to make sure it froths (this proves it’s alive). Proofing isn’t necessary with modern yeasts, but it is a great way to test if you suspect yours is old or inactive. Just don’t add salt, as it can kill the yeast; stir it into the flour instead.
Kneading
Kneading your dough builds the gluten strands and gives bread its structure. It takes a bit of practice, but you will eventually develop a relaxing rhythm.
Once the liquid and dry ingredients are combined, turn the sticky mixture out onto a flour-dusted work surface and press it into a rough ball. Fold the top edge toward you and give the dough a quarter-turn. Firmly press the dough down and away from you, using the palm and heel of your hand. Repeat folding, turning and pressing, periodically dusting the dough and your hands with a little more flour to control the stickiness. A little goes a long way—don’t add too much flour or your bread will turn out dry.
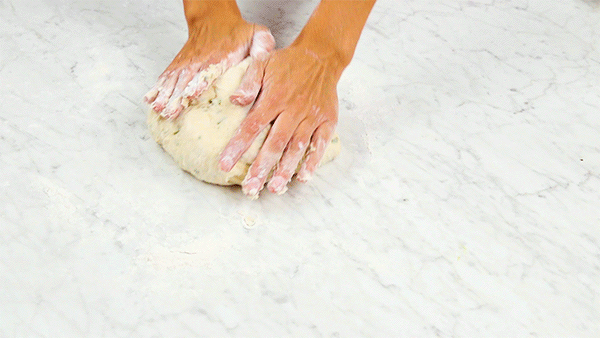
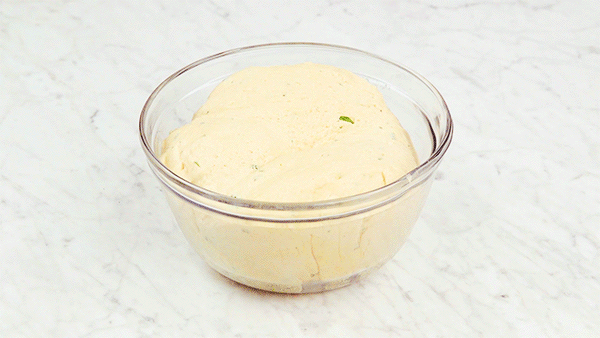
Most recipes call for five to 10 minutes of kneading until the dough is smooth and elastic. Set a timer and watch the mixture as it transforms from shaggy to smooth. If it doesn’t seem like it’s there yet, keep going. Then you’re ready to let the dough rise.
Shaping
Once the kneaded dough has risen, press it gently to deflate it and turn it out onto a lightly floured work surface. Here are some shaping options.
- Loaf: Pat dough into a rectangle about the same length as your loaf pan. Starting at one long edge, roll up fairly tightly. Using your fingers, pinch the bottom seam and the ends to seal shut. Place the dough in the pan, seam side down.
- Boule: Pat dough into a rough ball. Hold it in your hands and gently smooth down from the top, using your thumbs and the heels of your hands to create the classic domed top. Pinch any excess together underneath.
- Rolls: Cut dough into pieces and roll into balls. Cup your hand and place it gently over each ball and roll on the counter until round and smooth. Try our Garlic & Herb Pull-Apart Dinner Rolls .

Next, the shaped dough is set aside to rise again and then garnished or slashed decoratively on the top for a rustic look.
Baking
Talking science again, heat causes the gluten and starches in flour to change their structure. While dough is baking in the oven, gluten proteins relax and straighten, squeezing out excess water, while the starch molecules absorb water, become larger and springier. Together they create the airy and slightly chewy texture we love.
For a nice, even cook, bake your bread in the bottom third of the oven so the centre of the loaf is placed securely in the middle of the oven.
When your bread is done, the crust should be nicely browned and the bottom should sound hollow when tapped. If you’re not sure, insert an instant-read thermometer into the centre—a loaf is cooked through when it registers between 190°F (88°C) and 210°F (99°C).
Commercial bread ovens use steam to create crackly crusts, and you can simulate that effect at home. Place a metal roasting pan on the bottom rack of the oven as it is preheating. After you place the bread on the centre rack, pour hot water into the roasting pan underneath. Quickly close the oven door to trap the steam.
Storing
Homemade bread doesn’t contain preservatives, so it tends to go stale faster than store-bought. Keep it in a plastic bag in a cool, dry place for three or four days, or in the fridge for a day or two longer.
Sliced or whole, homemade loaves freeze well; wrap them in plastic and store in re-sealable freezer bags. Let bread thaw at room temperature, and pop it into a 350°F (180°C) oven for five to 10 minutes just before serving to restore its freshly baked taste.
If a loaf has gone stale, don’t toss it. Leftover bread is ideal in our Grilled Bread & Tomato Salad. Alternatively, you can use up stale bread in stuffing, bread pudding, bread crumbs, French toast or homemade croutons.